Photography is a wonderful art form that can capture moments and emotions that last a lifetime. After a picture is taken, it’s time to enhance it to make it stand out. Printing the photo is a great way to turn it into a tangible piece of art that can be enjoyed for years to come.
However, before printing, consider the quality of the image. If the picture is blurry or dark, the final print will be as well. That’s where the editing process comes in.
By sharpening and brightening the image, it can make a significant difference in the final result. Sharpening helps to bring out the details and textures in the photo, making it look more crisp and clear. Brightening, on the other hand, can help to bring out the colors and make my image look more vibrant and alive.
In this blog post, I will walk you through the steps involved in the print process for a single photograph. Additionally, I will guide you through the editing process for sharpening and brightening your image.
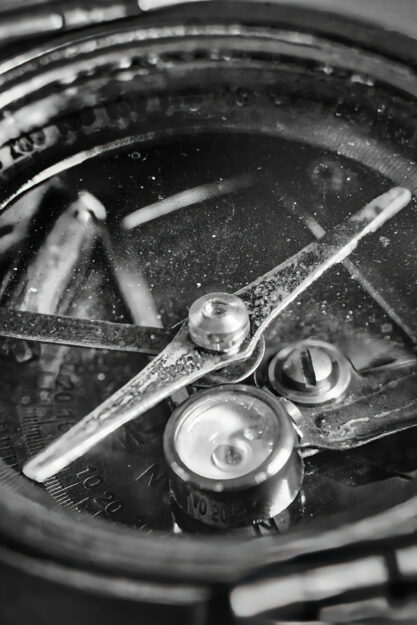
Original Image

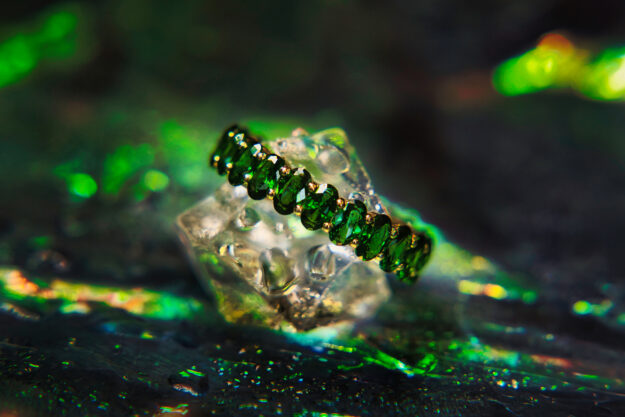
Edited Image (Initial)

Final Print Image
