This week we explore APERTURE! High aperture vs low aperture, creamy shallow dept bokeh vs tack sharp photos. “Dept of field” can be easily manipulated with the use of the camera’s F/. Shallow depth ranges from f/2.8 – 5.6 while deep depth ranges from f/16 – f/22.
This week I was blessed to have my cat as my primary model to capture shallow depth of field. Her name is Alakazam and she’s still a little baby so go easy on her. I got her from the Idaho Falls pound and as you can see she is not camera shy at all.
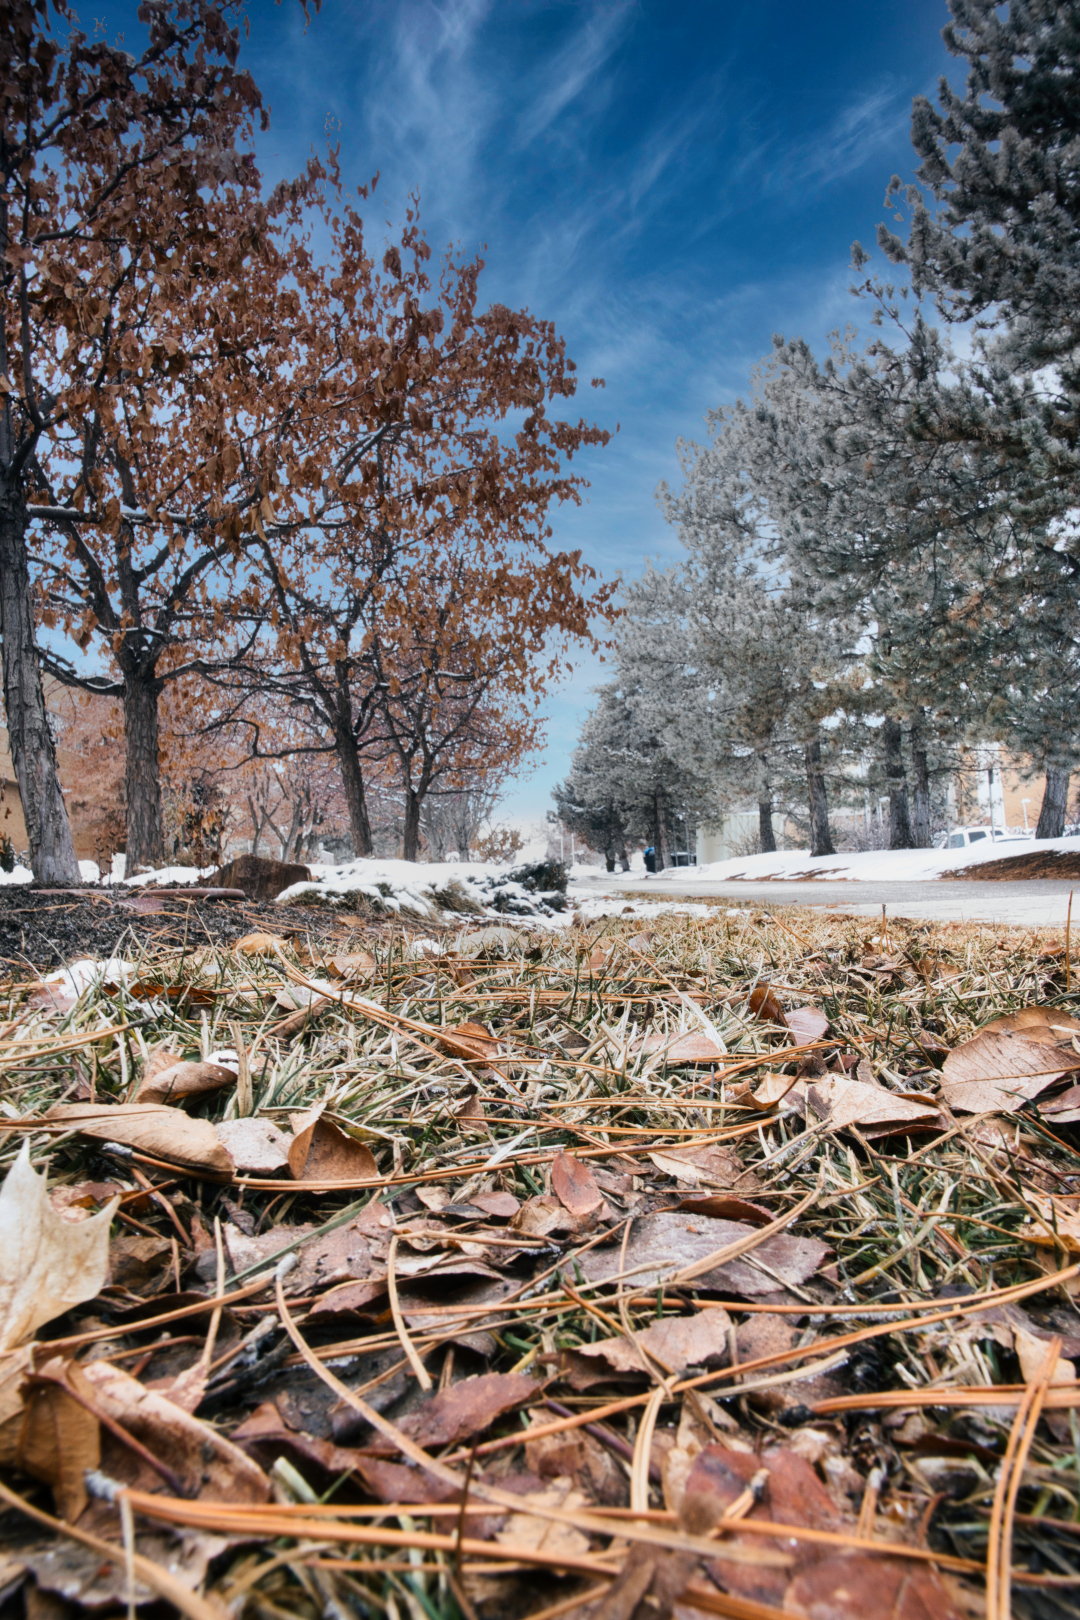
This week has been terribly cold! To avoid going out, I focused my shallow-depth shots indoors as the lower aperture allows me to have less light for my shots.
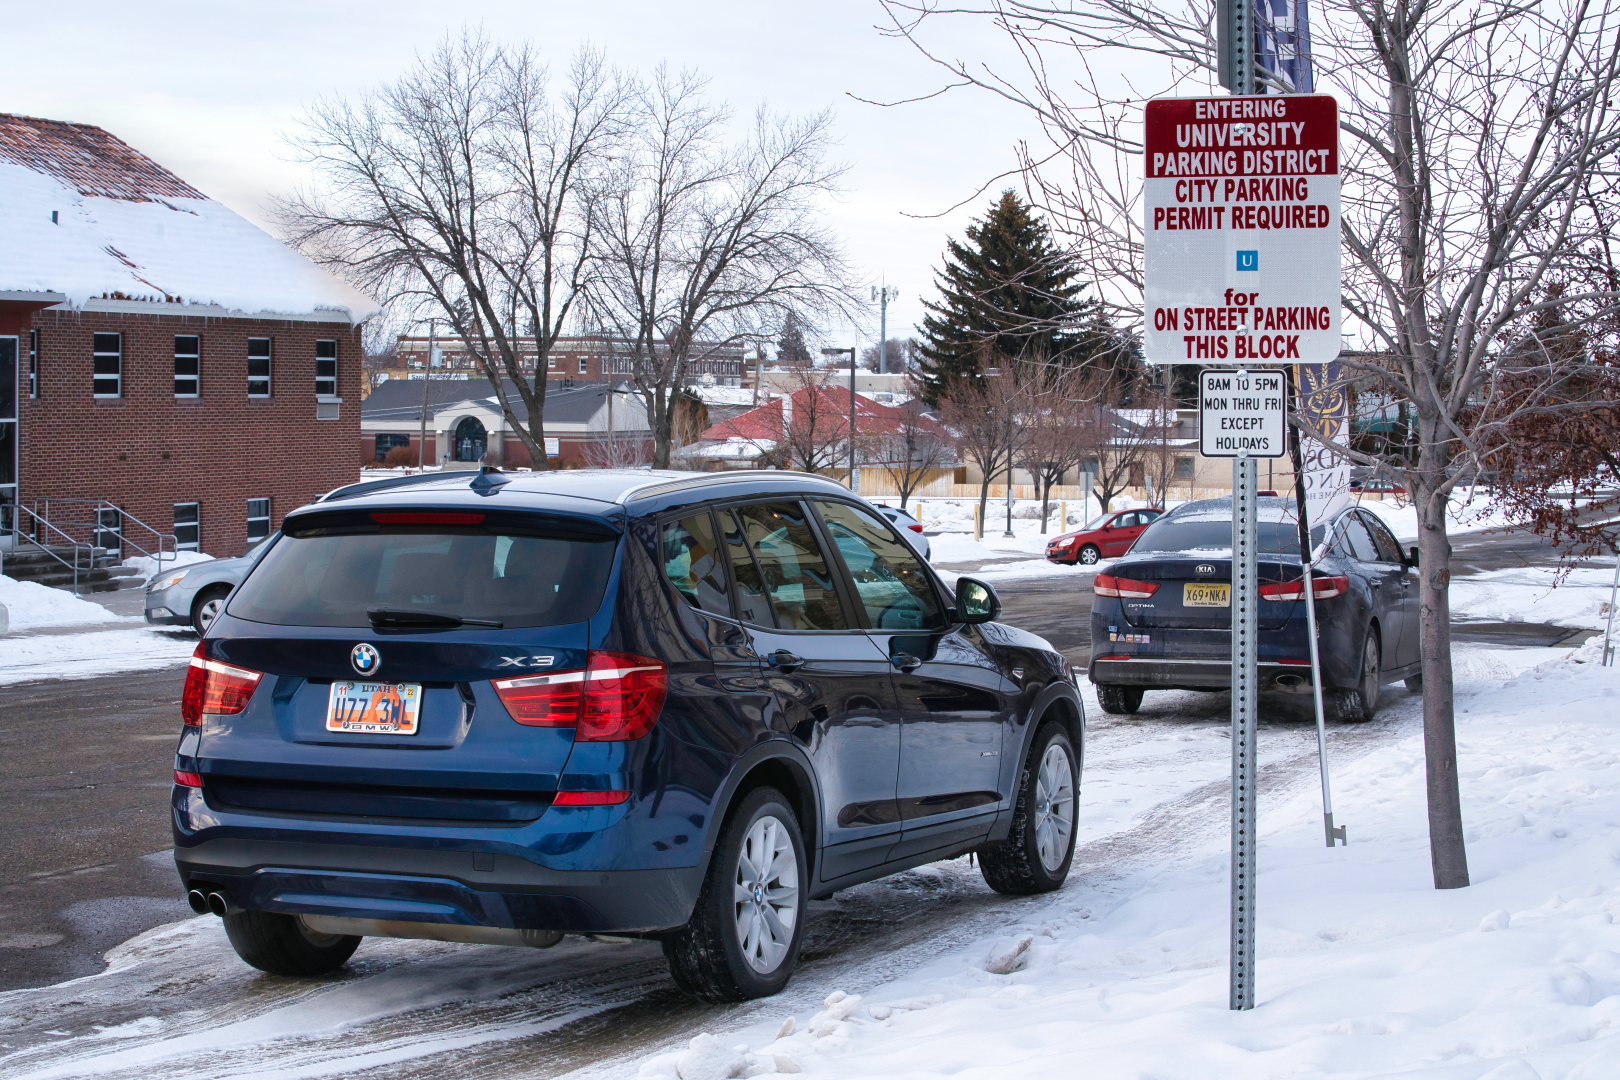
A high aperture requires more light so I had tobegrudgingly leave the comforts of an A/C and shoot some crispy shots.
To learn more about the different modes of a camera and the diverse artistry that is photography, I scoured the internet to find different examples of photographs. The photographs found are royalty-free images from https://www.pexels.com/. They serve to illustrate the different principles of aperture, shutter speed, and bracket shooting modes.
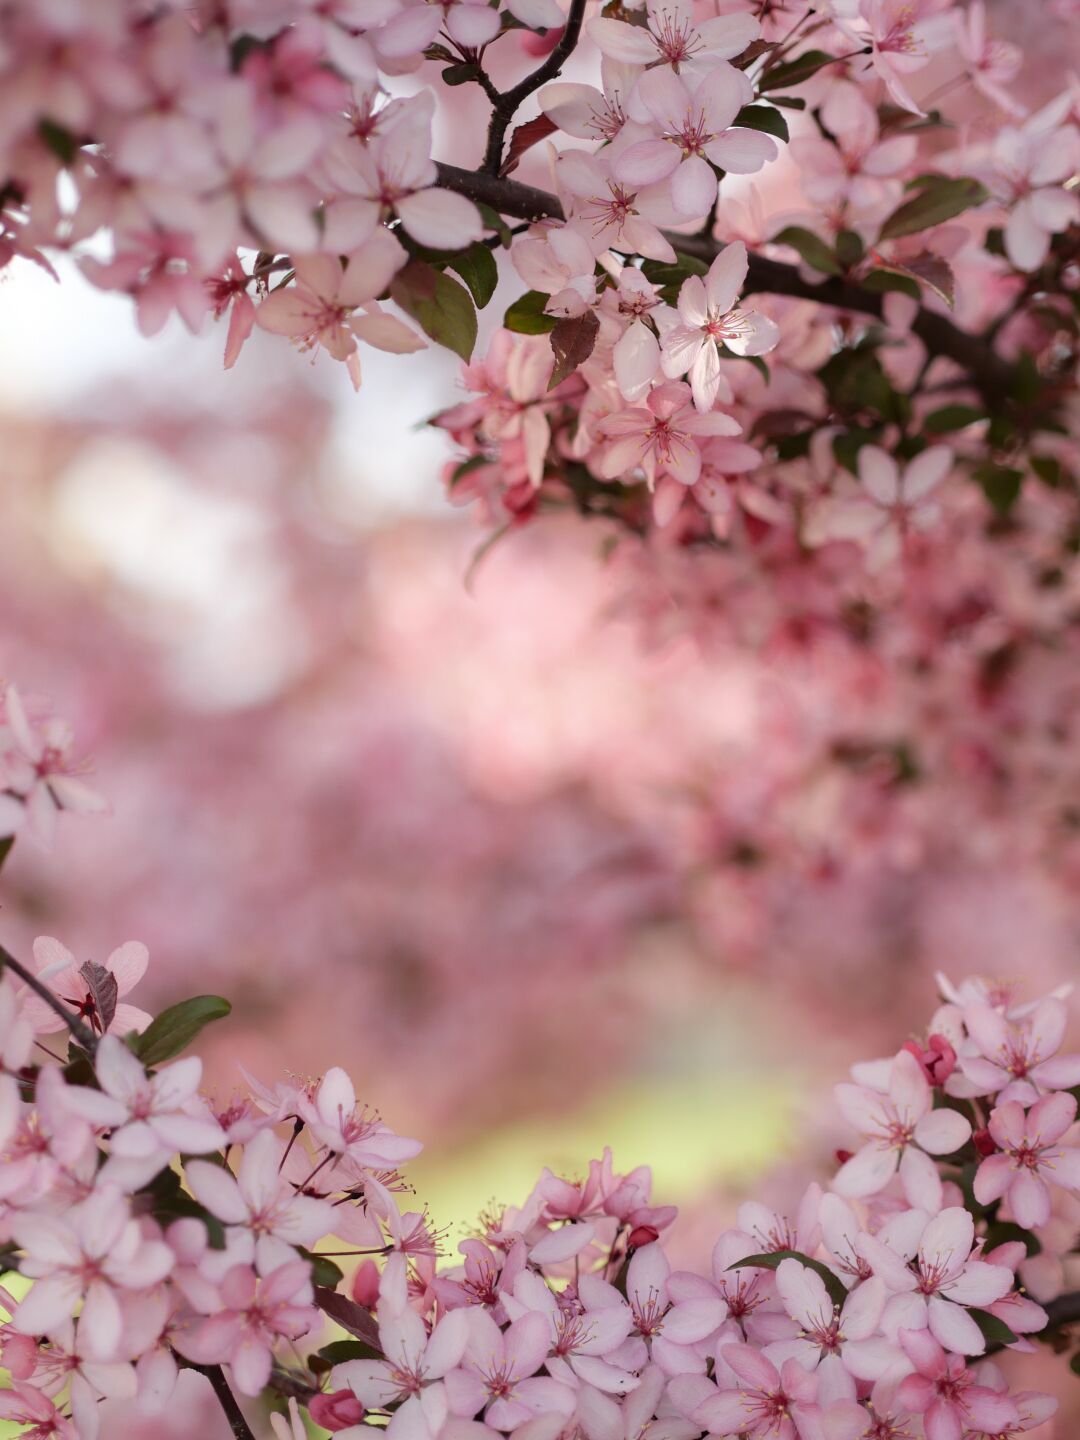
Chester Chan Wide Aperture
The photo above is an example of a wide-aperture photograph. You can tell it has a wide aperture photograph because of the shallow depth of field, this results in the presence of bokeh in between the flowers. Wide aperture photography requires a lower f/. Typically the range would be f/1.9 – f/5.6. This means that the camera is shooting at a wider opening and will allow more light as the photograph is taken.
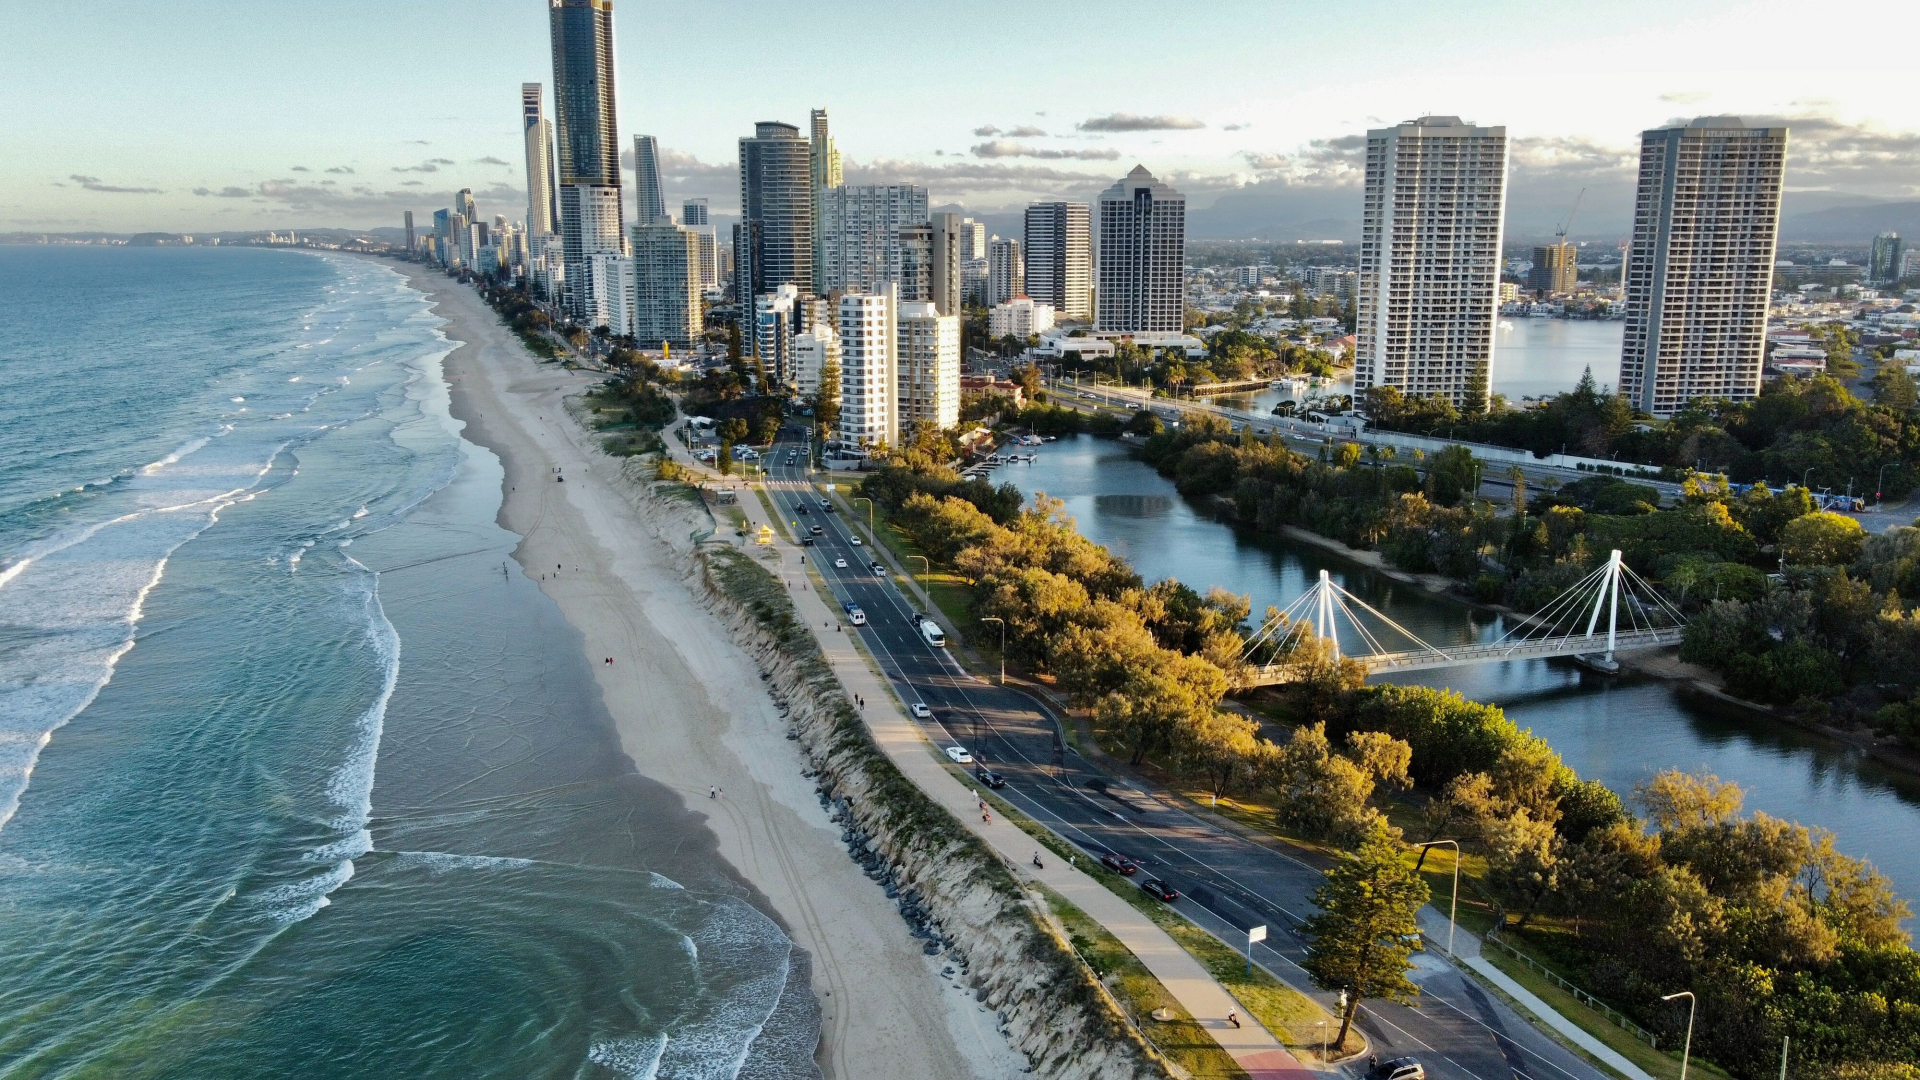
Chester Chan Narrow Aperture
The photograph above is an example of a narrow aperture photograph. Narrow aperture photographs are created with a higher f/. A typical F/ for a high aperture photograph is f/22. With a higher aperture, the lens has a smaller opening, which results in a deeper depth of field and less light entering the lens. This creates a very sharp photo with everything in focus and the absence of any bokeh. (assuming sufficient light is captured). This can be seen in the image above, the shoreline, the skyscrapers, and the road is all crisp and in focus.
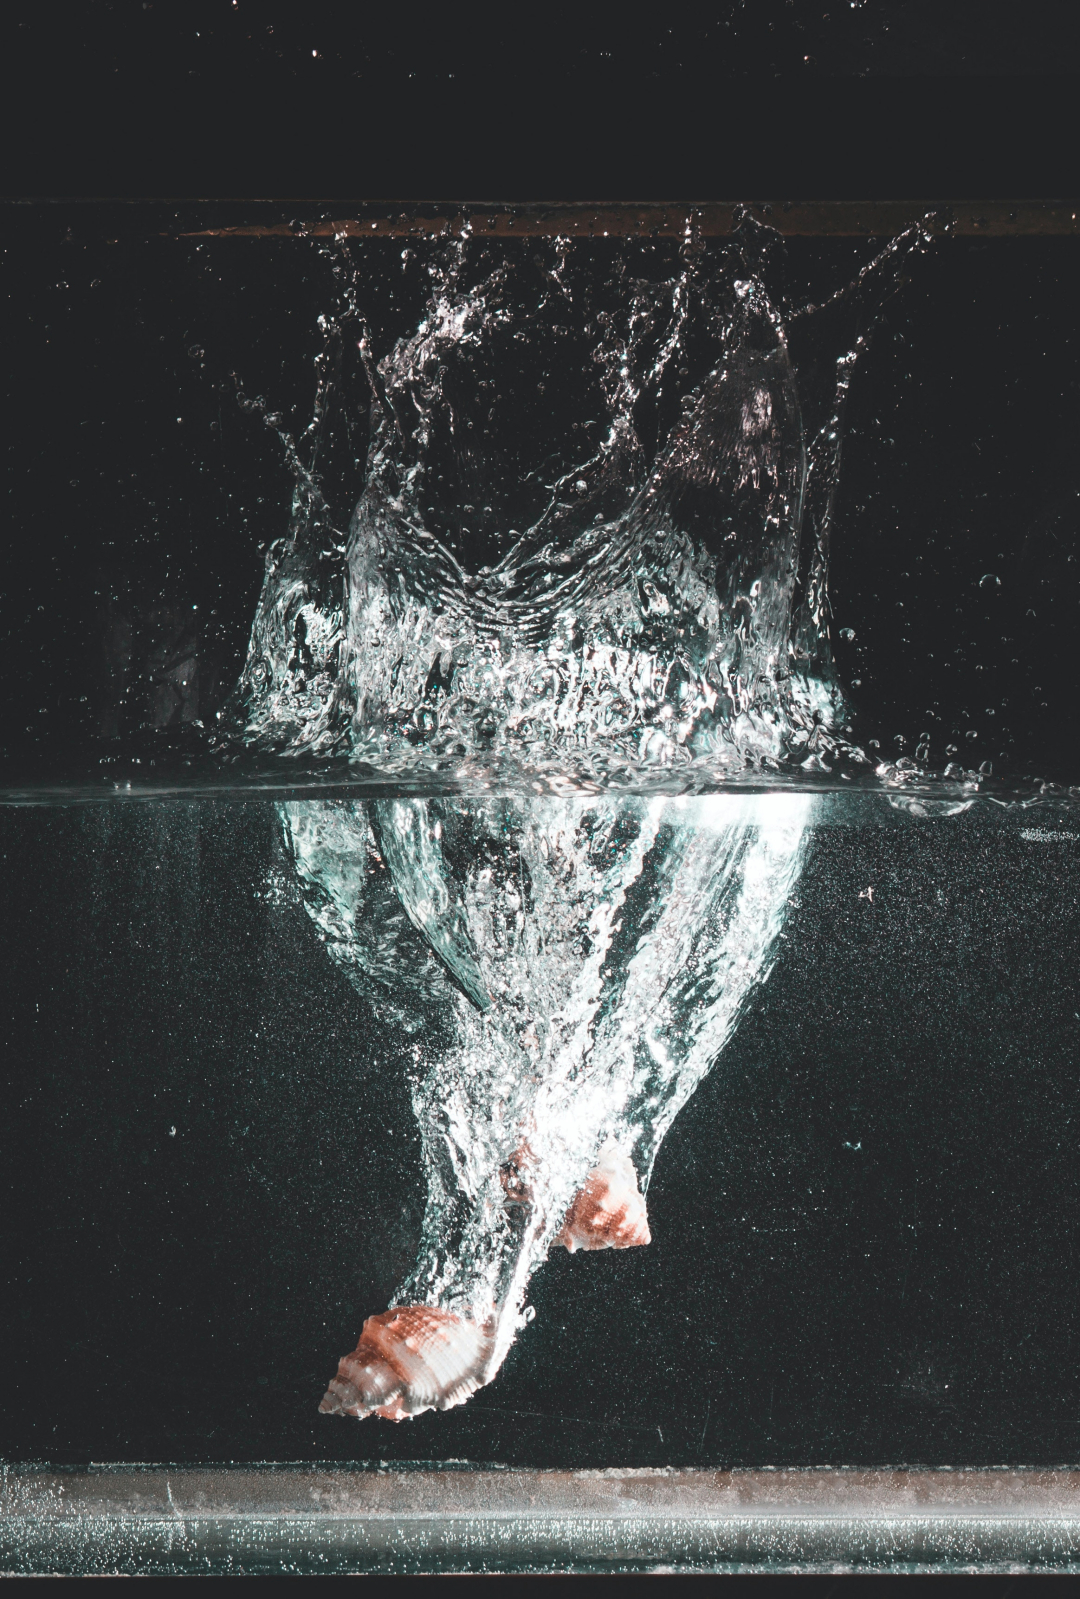
Chester Chan Fast Shutter
The photo above is an example of a fast shutter speed photograph. The water and the ripples in the water are in focus and hard distinct water droplets can be seen. With a faster shutter speed, the camera’s ability to absorb light is limited, the outcome is a very sharp and detailed shot even when the subject is moving at high speeds. ( this requires the camera to receive adequate amounts of light)
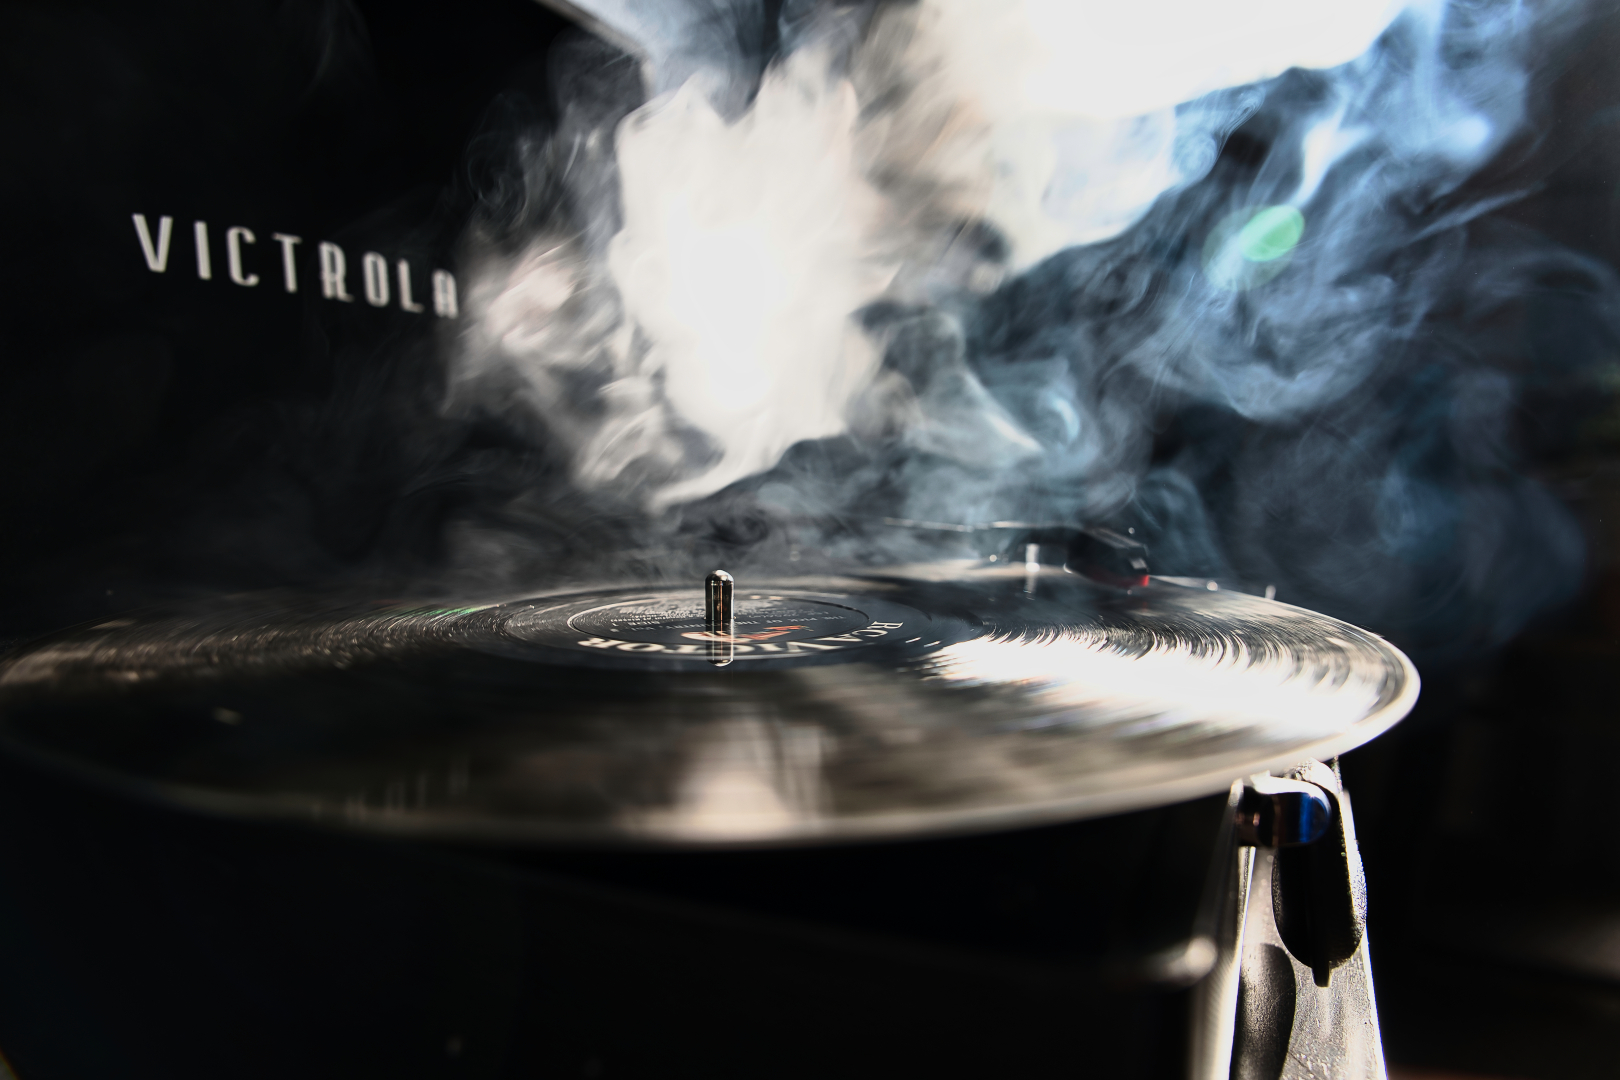
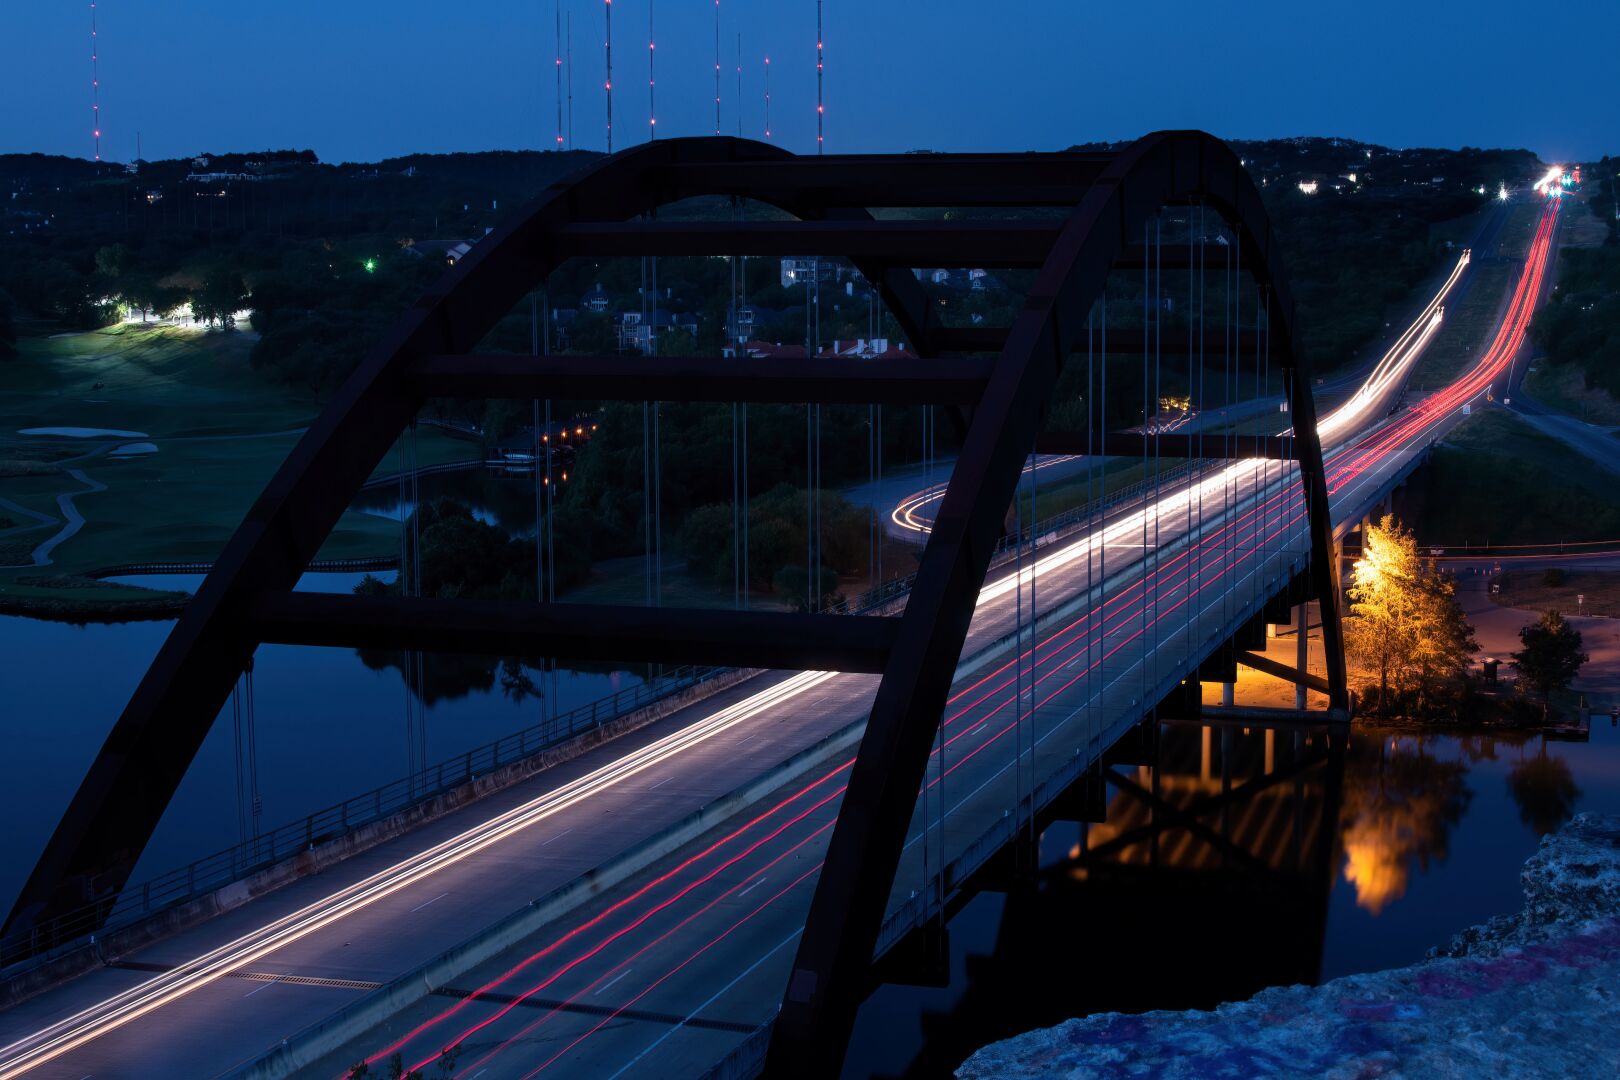
Chester Chan Slow Shutter
The photograph shown above shows a shot taken with a slow shutter speed. A slow shutter speed is the opposite of a fast shutter speed, the characteristics of a photo taken with a slower shutter speed would be the blurring of any subjects in motion, motion is illustrated as very blurred and soft as opposed to tact sharp. The camera is able to do this because the camera is slow enough to capture more motion due to the speed of the shutters closing. A slow shutter speed is good for capturing smooth photos of the movement.
Chester Chan Bracket shooting
Bracket shooting technique of taking several shots of the same subject using different camera settings. Bracketing is useful and often recommended in situations that make it difficult to obtain a satisfactory image with a single shot, especially when a small variation in exposure parameters has a comparatively large effect on the resulting image. Bracketing is helpful as it can blend multiple frames of an image into one photograph. Bracketing is also helpful when taking images with very trickly lighting as it would help the photographer effectively blend different exposures from different frames together.